Tag Archives: pics

Tissue Sampling – Crassostrea virginica Tissues for Archiving

I figured it’d be prudent to collect some Eastern oyster (Crassotrea virginica) to have around the lab.

I used one of the C.virginica oysters that I picked up Taylor on 20171210 for sampling.

Sampled:

  • Upper mantle (avoided area that was near gonad/white-ish)
  • Ctenidia
  • Lower mantle
  • Muscle
  • Gonad

Samples were transferred to 1.7mL snap cap tubes, frozen on dry ice, and stored @ -80C in Rack 13, Col 1, Row 5.

Sample Annotation – Olympia oyster histology blocks (from Laura Spencer)

I’ve been asked to isolate RNA from some paraffin-embedded Olympia oyster gonad tissue.

Despite some excellent documentation by Laura Spencer (images of tissue layouts in histology cassettes and a corresponding cassette mapping key file), the histology facility seems to have flipped some things around and/or repositioned/split the contents of each cassette. This makes ID-ing the proper tissues tedious and, at times, difficult.

The list of tissues that needs to be processed is listed in this GitHub Issue #648. I’ve also added the list below:

NF-10 22
NF-10-23
NF-10-24
NF-10-26
NF-10-28
NF-10-30
SN-10-16
SN-10-17
SN-10-20
SN-10-25
SN-10-26
SN-10-31

Prior to beginning RNA isolations, I have annotated images of the histology blocks and will be waiting for Laura to confirm that my annotations are correct. I will be posting a link to this notebook entry in the GitHub issue listed above for her to view and wait for her confirmation.

UPDATE 201700707 – Laura has indicated that many of my annotations are incorrect. Katie has gone through and made proper identification: https://github.com/sr320/LabDocs/issues/648#issuecomment-313792588


Additionally, as indicated in the GitHub Issue above, histology block “Oly 14″ does not have a corresponding tissue cassette photo (containing sample NF-10 26). Without the original image, I don’t think I can make an accurate guess on how the tissues are oriented in the resulting two histo blocks (see below).


BLOCKS 5


BLOCK 6


BLOCK 9


BLOCK 10


BLOCKS 14 (unable to annotate at time of posting)


BLOCK 15


BLOCK 21


BLOCK 22

Troubleshooting – Synology NAS (Owl) Down After Update

TL;DR – Server didn’t recover after firmware update last night. “Repair” is an option listed in the web interface, but I want to confirm with Synology what will happen if/when I click that button…

The data on Owl is synced here (Google Drive): UW Google Drive

However, not all of Owl was fully synced at the time of this failure, so it seems like a decent amount of data is not accessible. Inaccessible data is mostly from individual user directories.

All high-throughput sequencing is also backed up to Amazon Glacier, so we do have all of that data.


Here is what happened, in chronological order:


  1. Updated DSM via web interface in “Update & Restore”. Did NOT perform manual install.
  2. System became inaccessible via web interface and Synology Assistant.
  3. The physical unit showed blue, flashing power light and green flashing LAN1 light.
  4. No other lights were illuminated (this includes no lights for any of the drive bays).
  5. The attached expansion unit (DX513) showed steady blue power light, steady green lights on all drive bays, and steady green eSATA light.
  6. I powered down both units via the DS1812+ power button.
  7. I turned on the both units via the DS1812+ power button.
  8. Both units returned to their previous status and were still inaccessible via the web interface and Synology Assistant.
  9. I powered down both units via the DS1812+ power button.
  10. I removed all drives from both units.
  11. I turned on the both units via the DS1812+ power button.
  12. I connected to the DS1812+ via Synology Assistant. A message indicated “No Hard Disk Found on 1812+”.
  13. I powered down both units via the DS1812+ power button.
  14. I added a single HDD to the DS1812+.
  15. I turned on the both units via the DS1812+ power button.
  16. I connected to the DS1812+ via Synology Assistant. I was prompted to install the latest DSM. I followed the steps and created a new admin account. Now the system shows 7 drives in the DS1812+ with a message: “System Partition Failed; Healthy”. Disk 1 shows a “Normal” status; this is the disk that I used to re-install DSM in Step 14. Additionally, the system shows one unused disk in the DX513.
  17. I powered down both units via the web interface.
  18. I removed Disk 1 from DS1812+.
  19. I turned on the both units via the DS1812+ power button.
  20. The DS1812+ returns to its initial state as described in Step 3.
  21. I powered down both units via the DS1812+ power button.
  22. I returned Disk 1 to its bay.
  23. I turned on the both units via the DS1812+ power button.
  24. There’s an option to “Repair” the Volume, but I’m not comfortable doing so until I discuss the in/outs of this with Synology. Submitted a tech support ticket with Synology.

Below are pictures of the entire process, for reference.


Server status when I arrived to lab this morning.


Pulled the HDDs from both units, in an attempt to be able to connect via Synology Assistant.


Units w/o HDDs.


No HDDs in units made the server detectable via Synology Assistant, but it indicates “Not installed” in the “Status” column…


Successfully connected, but the DS1812+ indicates no HDDs installed.


Added a single HDD back to the DS1812+. Notice, the drive light is green and the “Status” light is amber. This is actually an improvement over what I saw when I arrived.


Added back a single HDD to the DS1812+ and now have this setup menu.


I’m prompted to install the Synology DSM.


Installing DSM. This “Formatting system partition” message might be related to the eventual error message that I see (“System Partition Failed”) after this is all set up…


Prompted to create an admin account. This does not bode well, since this is behaving like a brand new installation (i.e. no record of the previous configuration, users, etc.).


Continuing set up.


All set up…


Added all the HDDs back and detected via Synology Assistant.


This shows that there are no other users – i.e. previous configuration is not detected.


After putting all the HDDs back in, got this message after logging in.


Looking at the Storage info in DSM; seems bad.


Physically, the drives all look fine (green lights on all drive bays), despite the indication in the DSM about “System Partition Failed” for all of them (except Disk 1). The expansion unit’s bay lights are actually all green, but were actively being read at the time of picture (i.e. flashing) so the image didn’t capture all of them being green. Amber light on expansion unit reflects what was seen in the DSM – the middle drive is “Not initialized”. Note, the drive is actually inserted, but the handle has been released.


This is how I left the system. Notice that after rebooting, the expansion unit no longer shows that “Not initialized” message for Disk 3. Instead, Disk 3 is now detected as installed, but not used…


RNA Isolation – Jake’s O. lurida Ctenidia 1hr Heat Stress from 20150422

Isolated RNA from Jake’s Olympia oyster ctenidia, 1hr heat shock, collected on 20150422. Samples had been homogenized and stored @ -80C.

The following sample tubes (heat-shocked oyster ctenidia) were removed from -80C and thawed at RT:

  • 42215 HT1 1
  • 42215 HT1 2
  • 42215 HT1 3
  • 42215 HT1 4
  • 42215 HT1 5
  • 42215 HT1 6
  • 42215 HT1 7
  • 42215 HT1 8
  • 42215 NT1 1
  • 42215 NT1 1
  • 42215 NT1 2
  • 42215 NT1 3
  • 42215 NT1 4
  • 42215 NT1 5
  • 42215 NT1 6
  • 42215 NT1 7
  • 42215 NT1 8
  • 42215 ST1 1
  • 42215 ST1 2
  • 42215 ST1 3
  • 42215 ST1 4
  • 42215 ST1 5
  • 42215 ST1 6
  • 42215 ST1 7
  • 42215 ST1 8

NOTE: Samples NT1 1 and NT1 2 only had 700μL of RNAzol RT in them. Added additional 300μL of RNAzol RT to each.

NOTE: 0.1% DEPC-H2O used throughout this procedure was prepared on 7/15/2010 by me.

According to Jake’s notebook entry, the samples should have been previously homogenized in RNAzol RT. However, none of the samples showed evidence of being homogenized:


In theory, if these samples were snap frozen on liquid nitrogen after being placed in the RNAzol RT, there should be almost no impact on the RNA.


Procedure:

Samples were homogenized with disposable pestle in their respective tubes and vortexed.

Added 400μL of 0.1% DEPC-H2O to each sample and vortexed 15s.

Incubated samples 15mins at RT.

Centrifuged tubes 15mins at RT @ 16,000g.

750μL of the supe was transferred to a clean tube, added equal volume of isopropanol (750μL), mix by inversion (20 times), and incubated at RT for 15mins.

Centrifuged 12,000g for 10mins.

Discarded supe.

Washed pellets with 500μL of 75% EtOH (made with 0.1% DEPC-H2O) and centrifuged 4,000g for 3mins at RT. Repeated one time.

Removed EtOH and resuspended in  100μL of 0.1% DEPC-H2O. Most samples required vortexing to dissolve pellet.

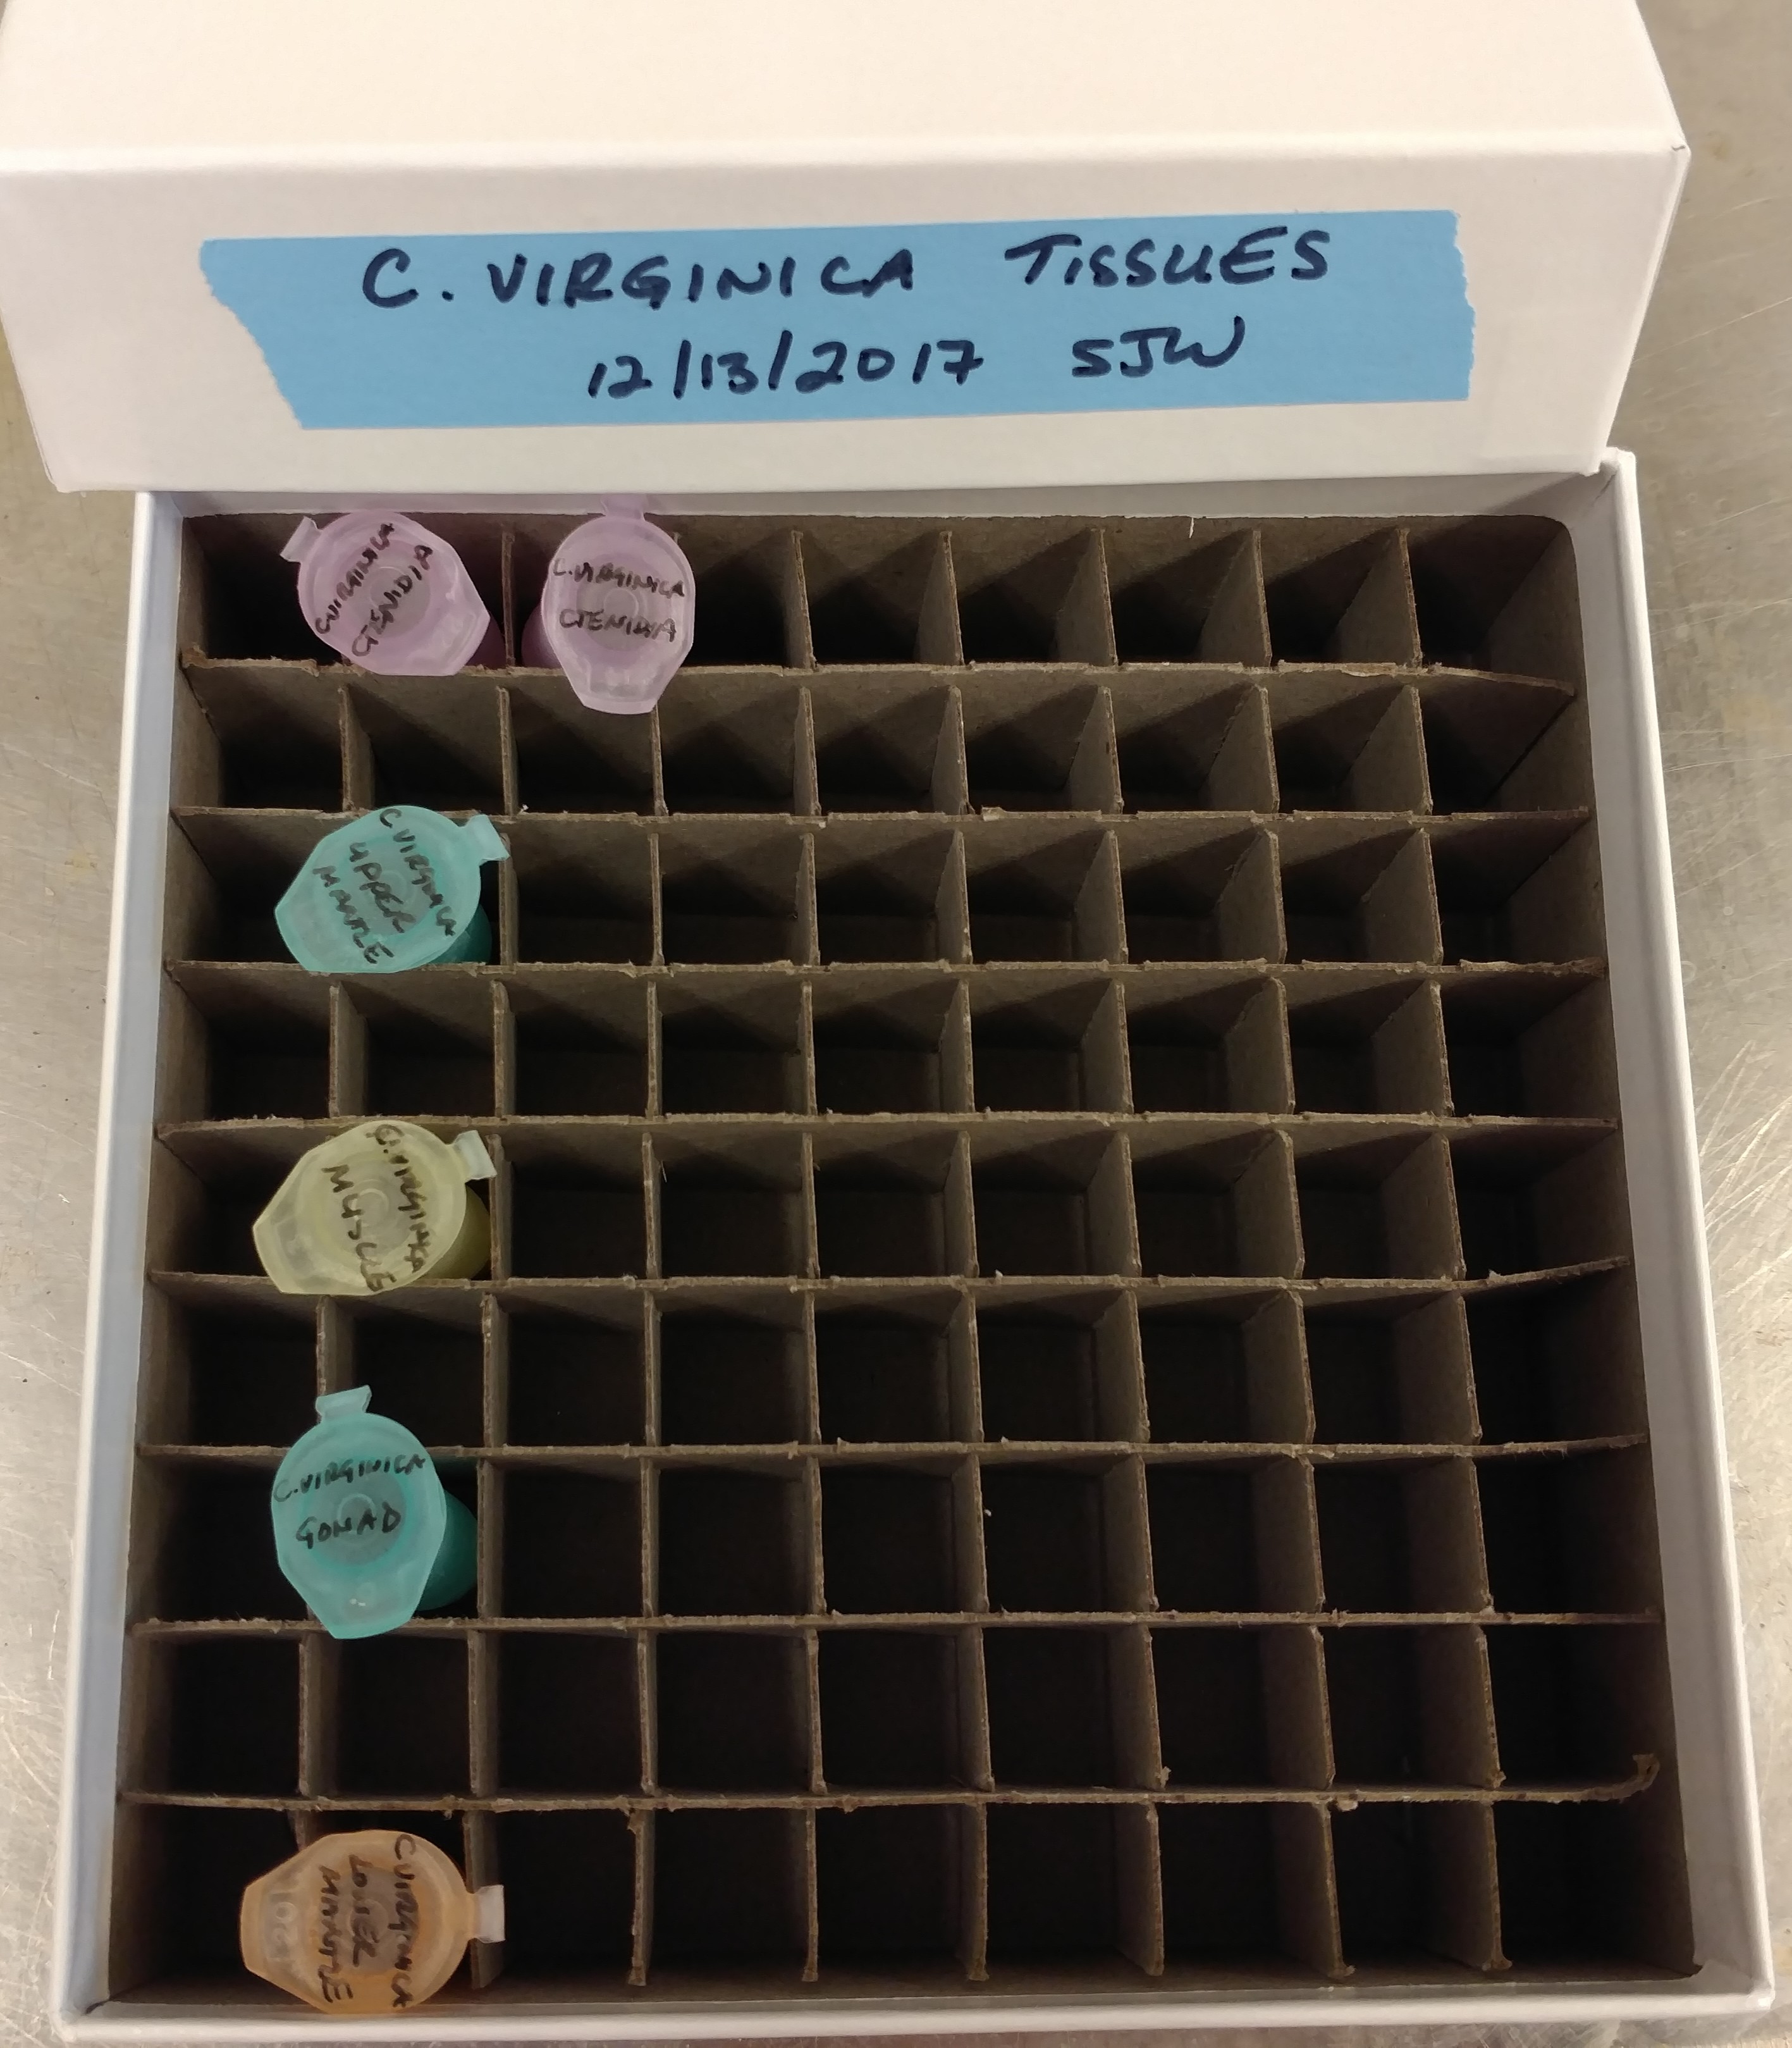
Sample tubes were transferred to ice, quantified on the Roberts Lab NanoDrop1000, and stored @ -80C in their original box, pictured:


Results:


Google Spreadsheet with absorbance data: 20150506_Jake_Oly_1h_HS_RNA_ODs

Overall, the samples have excellent yields. The exceptions being the two samples that had less than 1mL of RNAzol RT in them to start (their yields are actually fine, but relative to all the other samples, they aren’t great). Should I have left them that way instead of adding additional RNAzol RT? Was there something wrong with these samples in the first place and that’s why they didn’t have a full 1mL of RNAzol RT in the tube already?

The 260/280 ratios are pretty good for most of the samples (>1.8), however I’d prefer to see RNA with 260/280 ratios >1.9.

The 260/230 ratios are amazing! The best I’ve seen coming straight out of an RNA isolation in a long time.

Eventually (once I’ve isolated RNA from the control set that corresponds to these heat shock samples), I’ll check for gDNA carryover and then, probably, DNase the RNA.